

A fresh coat of paint can change the look of a room, but the finish depends on the wall underneath. Dust, grease, loose paint and uneven repairs can leave a newly painted surface looking patchy or rough.
Wall preparation before painting means checking the surface, correcting defects and creating a suitable base for your chosen coating. Whether you are repainting a bedroom or finishing a newly plastered home, the preparation should match the wall’s condition.
This guide explains how to prep walls before painting, including cleaning, crack repairs, smoothing and primer selection, with practical notes for Indian homes.
What is the best way to prep walls for painting?
Inspect the wall, resolve moisture problems, remove loose material, clean away contamination, repair defects, smooth the surface and remove dust. Then apply the primer or sealer required by your paint system. Follow the specified curing, drying and recoating instructions before painting.
Table of Contents
Why wall preparation matters
Paint needs a firm surface to bond to. A coat applied over peeling paint is only as secure as the weak layer beneath it. Dirt and grease can interfere with adhesion, while rough patches can remain visible through the finish.
Good interior wall prep for painting addresses these problems before colour goes on. It also helps you identify issues that decorative paint cannot fix, such as an active leak or unstable plaster.
Check what your wall actually needs
Before buying materials, examine each wall in daylight and with a light directed across the surface. Use this checklist to discuss the work with your painter.
| Wall condition | Preparation priority |
| Sound existing paint | Clean, check adhesion, repair small defects and assess whether primer is needed. |
| Flaking or powdery surface | Remove unsound material and identify the cause before applying another coating. |
| New cement plaster | Allow curing and drying; follow the coating system’s moisture and alkalinity limits. |
| Cracked or uneven plaster | Assess the defect, repair appropriately and level only where needed. |
| Damp patches or recurring stains | Find and correct the moisture source before decorating. |
| New plasterboard | Finish joints and fixings, sand carefully, remove dust and use a suitable primer. |

How to prep a room before painting
Move furniture away from the walls and cover anything that remains. Protect floors, remove wall decorations, and mask the edges of trim and fittings. Keep cleaning water away from electrical outlets.
Useful supplies include a scraper, filling knife, suitable repair compound, sanding block, abrasives, soft brush, vacuum, sponges, protective sheets and a compatible wall cleaner. Have eye protection and suitable dust protection available for dusty work.
Wall preparation before painting in 8 steps
1. Inspect for dampness and unstable surfaces
Look around windows, plumbing routes, bathroom walls and exterior-facing corners. Mark wet patches, blistering, white salt deposits and areas where the coating is coming away.
If a patch returns after cleaning or repainting, investigate its cause. Applying more putty or paint over an unresolved leak does not repair the source. Let repaired areas reach the coating manufacturer’s required condition before proceeding.
2. Remove loose paint and weak material
Scrape away flaking paint and remove loose debris until the remaining surface is firm. You do not automatically need to strip every wall back to bare plaster: well-bonded coatings may be suitable for repainting after preparation.
For old walls with an unknown coating history, check whether hazardous paint may be present before sanding or scraping. Use a qualified professional where assessment or controlled removal is needed.
3. Clean the walls before repairs and paint
Cleaning walls for paint prep removes dust, fingerprints, cooking residue and other contamination. Start by removing loose dust, then use a cleaner suitable for the existing surface. Test a small area first, especially if the old paint is fragile or not washable.
Follow the cleaner’s dilution instructions, rinse away residue as directed and allow the wall to dry. Avoid soaking plasterboard or saturating damaged plaster.
Do you need to sugar soap walls before painting? Sugar soap is a decorating cleaner that can help remove grease and grime. It is not a compulsory step for every wall. Choose a compatible pre-paint cleaner for the contamination present; a lightly dusty wall and a greasy kitchen wall need different treatment. Sugar soap is not a substitute for primer.
4. Repair holes and assess cracks
Fill small holes and stable surface defects with a repair material suitable for the substrate and the depth of the repair. Follow the product’s limits for layer thickness and drying time.
Preparing cracked walls for painting requires more than hiding the visible line. A recurring crack may involve movement or a failed joint. Wide, growing or displaced cracks need professional assessment before decorative work.
Wall putty is intended for surface levelling within its specified limits; it should not be treated as a structural repair. If considering CP Matrix Crack Paste, confirm that the particular crack and substrate suit its application instructions.
5. Smooth uneven areas with the right material
If you are wondering how to smooth walls before painting, first decide whether you are dealing with minor surface irregularities or damaged plaster. Local defects may need patching; widespread unevenness may require skilled skim coating or replastering.
Use wall putty where the surface and coating system call for it. Apply within the recommended thickness instead of building a heavy layer to hide a deeper problem. A sound, already smooth painted wall may not need a complete new putty coat.
Putty or primer first? There is no universal sequence for every product. Some systems apply putty to prepared plaster before priming; others specify primer before and after putty. Follow the instructions for the actual products you will use together.
6. Sand repairs and remove dust
Once the repair material is ready for sanding, blend its edges into the surrounding wall. Select the abrasive grade recommended for that material and avoid cutting deeply into plasterboard paper or sound paint.
Check the result using side lighting. Raised filler edges, scratches and sanding dust should be dealt with before coating. Vacuum or brush away dust, then finish cleaning as appropriate for the surface.
How smooth do walls need to be before painting? Repairs should blend into their surroundings without obvious ridges. Glossy finishes and strong side lighting make imperfections more noticeable, so assess the wall under the lighting the room will actually use.
7. Apply the appropriate primer or sealer
Primer helps prepare the substrate for the finish coat. Bare porous areas, repairs and mixed surfaces often need priming to manage absorption and create a more consistent base. Primer does not flatten ridges or replace repairs.
Choose a product suited to the substrate, interior or exterior exposure, existing coating and intended topcoat. Persistent stains may require a dedicated stain-blocking product after the source has been corrected.
Explore CP Matrix interior and exterior primers and confirm the correct system before application. Follow the specified dilution, coverage and recoating interval.
8. Check the surface before the finish coats
After priming, inspect again for missed defects. Correct any remaining imperfections using the coating system’s instructions, remove dust and re-prime repairs where required.
Do not judge readiness only by whether a surface feels dry. Repairs, primers and finishes have different curing and recoating requirements, which can also be affected by site conditions.
Preparing a plastered wall for painting
New cement plaster needs time to cure and dry before decorative coating. Some manufacturers specify around 28 to 30 days for new masonry under stated conditions, but that is not a universal approval to paint on a particular date. Confirm the selected product’s requirements and the actual wall condition.
Gypsum plaster is different from cement plaster. It also needs to dry, but its preparation and sealing system may differ. Use a compatible plaster primer or an approved mist-coat system where specified. Do not assume that any paint diluted with water is a suitable sealer.
How to prep walls before repainting
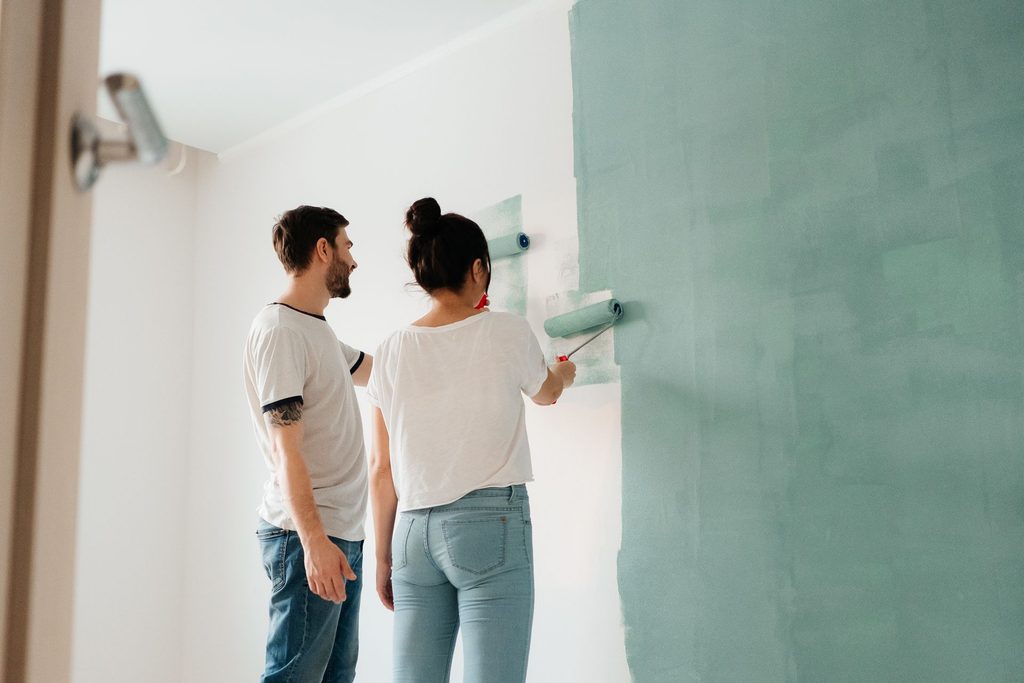
For previously painted walls, keep sound layers and remove failed ones. Clean first, repair defects and dull glossy areas if the new coating requires it. Assess porous repairs, exposed patches, staining and colour changes when deciding whether to prime the whole wall.
For example, a clean bedroom wall with a few nail holes usually needs less preparation than a kitchen wall with grease and flaking paint. The wall’s condition should determine the work, rather than a fixed package of coats.
Exterior wall preparation before painting
Exterior walls need checks for loose coatings, contamination, cracks and moisture entry. Look at parapets, window edges and other exposed junctions before starting cosmetic repairs.
Remove unsuitable material, clean using a method appropriate for the substrate, and allow adequate drying. Use exterior-compatible repair products and coatings. Plan the work around the product’s weather limits, avoiding rain and surfaces that are still wet after washing.
How to prepare bathroom walls for painting
Check for leaks, condensation, soap residue and mould before decorating. Correct moisture and ventilation problems, and use appropriate treatment for affected surfaces. Extensive or recurring mould needs assessment.
After cleaning and repairs, let the wall dry and use a coating system suitable for the exposure. Ordinary decorative wall paint should not be assumed suitable for a shower’s direct wet zone.
Frequently asked questions
Do I need to prep my walls before painting?
Yes, at least inspect and clean them. The amount of additional work depends on adhesion, moisture, defects and the coating you intend to apply.
Do I need to plaster before painting?
Not always. Sound plaster with small imperfections can often be patched and smoothed. Loose, badly damaged or significantly uneven plaster may need professional repair or replacement.
Do I need to prime a concrete wall before painting?
Usually, a compatible masonry primer is part of the system for bare concrete walls. Check the chosen coating’s instructions, including requirements for curing, surface preparation, moisture and alkalinity.
Do I need to prime plasterboard before painting?
New bare plasterboard normally needs a suitable primer after joint finishing and dust removal. This helps address the different absorption of the board face and joint compound.
What should I apply on a wall before paint?
Apply what the wall and coating system require: suitable repairs, levelling material where necessary, and a compatible primer or sealer. There is no single preparation product that replaces every step.
Can I paint over damp walls?
Do not apply ordinary decorative paint over an actively damp surface. Correct the moisture problem and meet the coating’s preparation requirements first.
Is sizing new plaster necessary before painting?
Wallpaper sizing and paint priming are different processes. For painting, use the primer, sealer or approved first-coat system specified for the plaster and finish. Do not substitute wallpaper size.
Your final wall prep checklist
- The wall is firm, clean and ready for the selected coating.
- Moisture sources and failed surfaces have been addressed.
- Repairs are stable and sufficiently cured or dry.
- Uneven patches are smoothed and sanding dust is removed.
- Putty, primer and paint are compatible and applied in the specified order.
- Required drying and recoating intervals have been followed.
Choose the right preparation products for your home
Planning a painting project? Tell CP Matrix whether you have new plaster or an existing painted wall, and share photos of cracks, peeling or damp patches. These details help guide a discussion about suitable preparation products.
Browse CP Matrix Paints or contact the team for product guidance.
Call: +91 85250 01700