

Painting your home can completely transform the look and feel of your space. A fresh coat of paint can make a room appear brighter, larger, cleaner, and more welcoming. It can also protect walls and other surfaces from everyday wear, moisture, dust, stains, and weather-related damage.
However, getting a beautiful and long-lasting paint finish is not simply about choosing an attractive colour and applying it to the wall. What you do before painting can be just as important as the painting itself.
Many homeowners focus heavily on selecting colours, comparing paint brands, calculating the required quantity, and deciding between matte, satin, silk, or glossy finishes. But they often overlook the preparation stage. As a result, problems such as peeling paint, visible cracks, uneven texture, poor coverage, colour inconsistency, damp patches, and premature fading can appear soon after the project is completed.
The good news is that most of these problems are preventable.
In this guide, we will discuss the 5 common mistakes people make before painting and explain how you can avoid them. Whether you are painting a single room, renovating an apartment, refreshing your office, or giving your entire house a new look, these painting preparation tips can help you achieve a cleaner, smoother, and more durable result.

Table of Contents
Why Preparation Matters Before Painting
Before looking at the common mistakes, it is important to understand why preparation matters so much.
Paint does not simply create a new appearance on a wall. It needs a properly prepared surface to adhere correctly. If the surface underneath is dirty, damp, dusty, cracked, oily, loose, or uneven, even high-quality paint may not perform as expected.
Think of painting like building a house. You would not build a beautiful structure on an unstable foundation. In the same way, you should not expect a professional paint finish from an improperly prepared wall.
Proper preparation can help improve:
- Paint adhesion
- Colour uniformity
- Surface smoothness
- Paint coverage
- Durability
- Resistance to peeling and flaking
- Overall appearance
- Ease of maintenance
- Long-term value of the painting project
Now, let’s look at the five mistakes you should avoid.
Mistake 1: Skipping Proper Surface Preparation
One of the biggest mistakes people make before painting is starting the painting process without properly preparing the surface.
It is tempting to think that if the wall looks reasonably clean, you can immediately start applying paint. Unfortunately, walls can contain dust, grease, dirt, cobwebs, loose particles, old paint, stains, and other contaminants that may interfere with the new coating.
Even small surface imperfections can become more noticeable after painting.
What happens when surface preparation is skipped?
If you paint directly over an unprepared surface, you may experience:
- Uneven paint application
- Poor adhesion
- Peeling or flaking
- Visible cracks
- Blistering
- Patchy appearance
- Rough texture
- Uneven colour
- Premature paint failure
For example, imagine a wall with small cracks and loose paint. If you simply paint over it, the new paint may temporarily hide the problem. But as the underlying layer continues to deteriorate, the new coating may crack or peel along with it.
How to prepare a wall before painting
Start by inspecting the entire surface carefully.
Look for:
- Cracks
- Holes
- Nail marks
- Peeling paint
- Loose plaster
- Damp areas
- Grease or oil
- Dust accumulation
- Fungal or algae growth
- Uneven surfaces
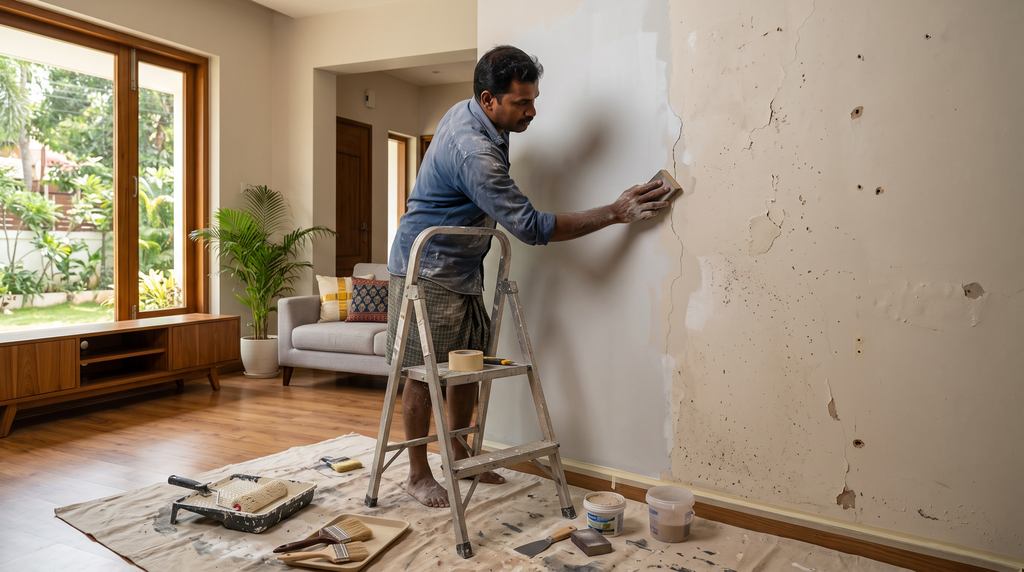
Remove loose paint and particles using appropriate tools. Clean the surface to remove dirt and dust. Repair cracks, holes, and other imperfections using suitable wall-repair materials.
Once repairs are completed, allow the surface to dry properly. Sanding may also be required to create a smoother and more uniform surface.
The goal is simple: create a clean, dry, stable, and reasonably smooth surface before applying the coating system.
Don’t forget about old paint
If the wall already has several layers of old paint, don’t automatically assume that another coat will solve everything.
Check whether the existing coating is:
- Firmly attached
- Flaking
- Chalking
- Bubbling
- Cracked
- Uneven
Loose or damaged coatings should be addressed before repainting.
The simple rule
Never use fresh paint to hide a surface problem. Fix the surface problem first.
A little extra preparation can make a major difference to the final appearance and durability of your paint job.
Mistake 2: Choosing Paint Only Based on Colour or Price
Choosing a beautiful colour is one of the most exciting parts of painting a home. But another common mistake is selecting paint only because of its colour or because it appears inexpensive.
Paint is not a one-size-fits-all product. Different surfaces, rooms, environments, and applications may require different types of coatings.
The right paint should be selected based on several factors, not just appearance.
What should you consider when choosing paint?
Consider:
- Interior or exterior application
- Surface type
- Room usage
- Moisture exposure
- Expected durability
- Cleaning requirements
- Desired finish
- Colour retention
- Coverage
- Application method
- Environmental conditions
For example, the requirements of a bedroom may be different from those of a kitchen, bathroom, exterior wall, office, or commercial building.
Interior vs. exterior paint
Exterior walls are exposed to much harsher conditions than interior walls.
Exterior surfaces may experience:
- Direct sunlight
- Rain
- Humidity
- Dust
- Temperature changes
- Wind
- Pollution
- Biological growth
Therefore, exterior surfaces generally need coatings designed to withstand outdoor exposure.
Interior walls, on the other hand, may have different priorities, such as:
- Smooth appearance
- Low odour
- Easy cleaning
- Stain resistance
- Washability
- Colour aesthetics
Using the wrong type of coating for a particular environment can reduce performance and shorten the life of the finish.
Don’t select paint based only on the lowest price
Price is an important consideration, but it should not be the only deciding factor.
A cheaper product may seem attractive initially, but if it requires more coats, provides poor coverage, loses colour quickly, or needs repainting sooner, the overall cost may become higher.
Instead of asking only:
“Which paint is cheapest?”
consider asking:
“Which paint provides the right balance of quality, coverage, durability, appearance, and value for my surface?”
Consider the finish
The finish also affects the appearance and practical performance of the painted surface.
Depending on the product, finishes can range from low-sheen or matte appearances to smoother and higher-sheen options.
Think about how you want the space to look and how much cleaning or maintenance the surface will require.
Test the colour before painting the entire room
A colour can look completely different depending on:
- Natural daylight
- Artificial lighting
- Room size
- Existing furniture
- Flooring
- Ceiling colour
- Adjacent walls
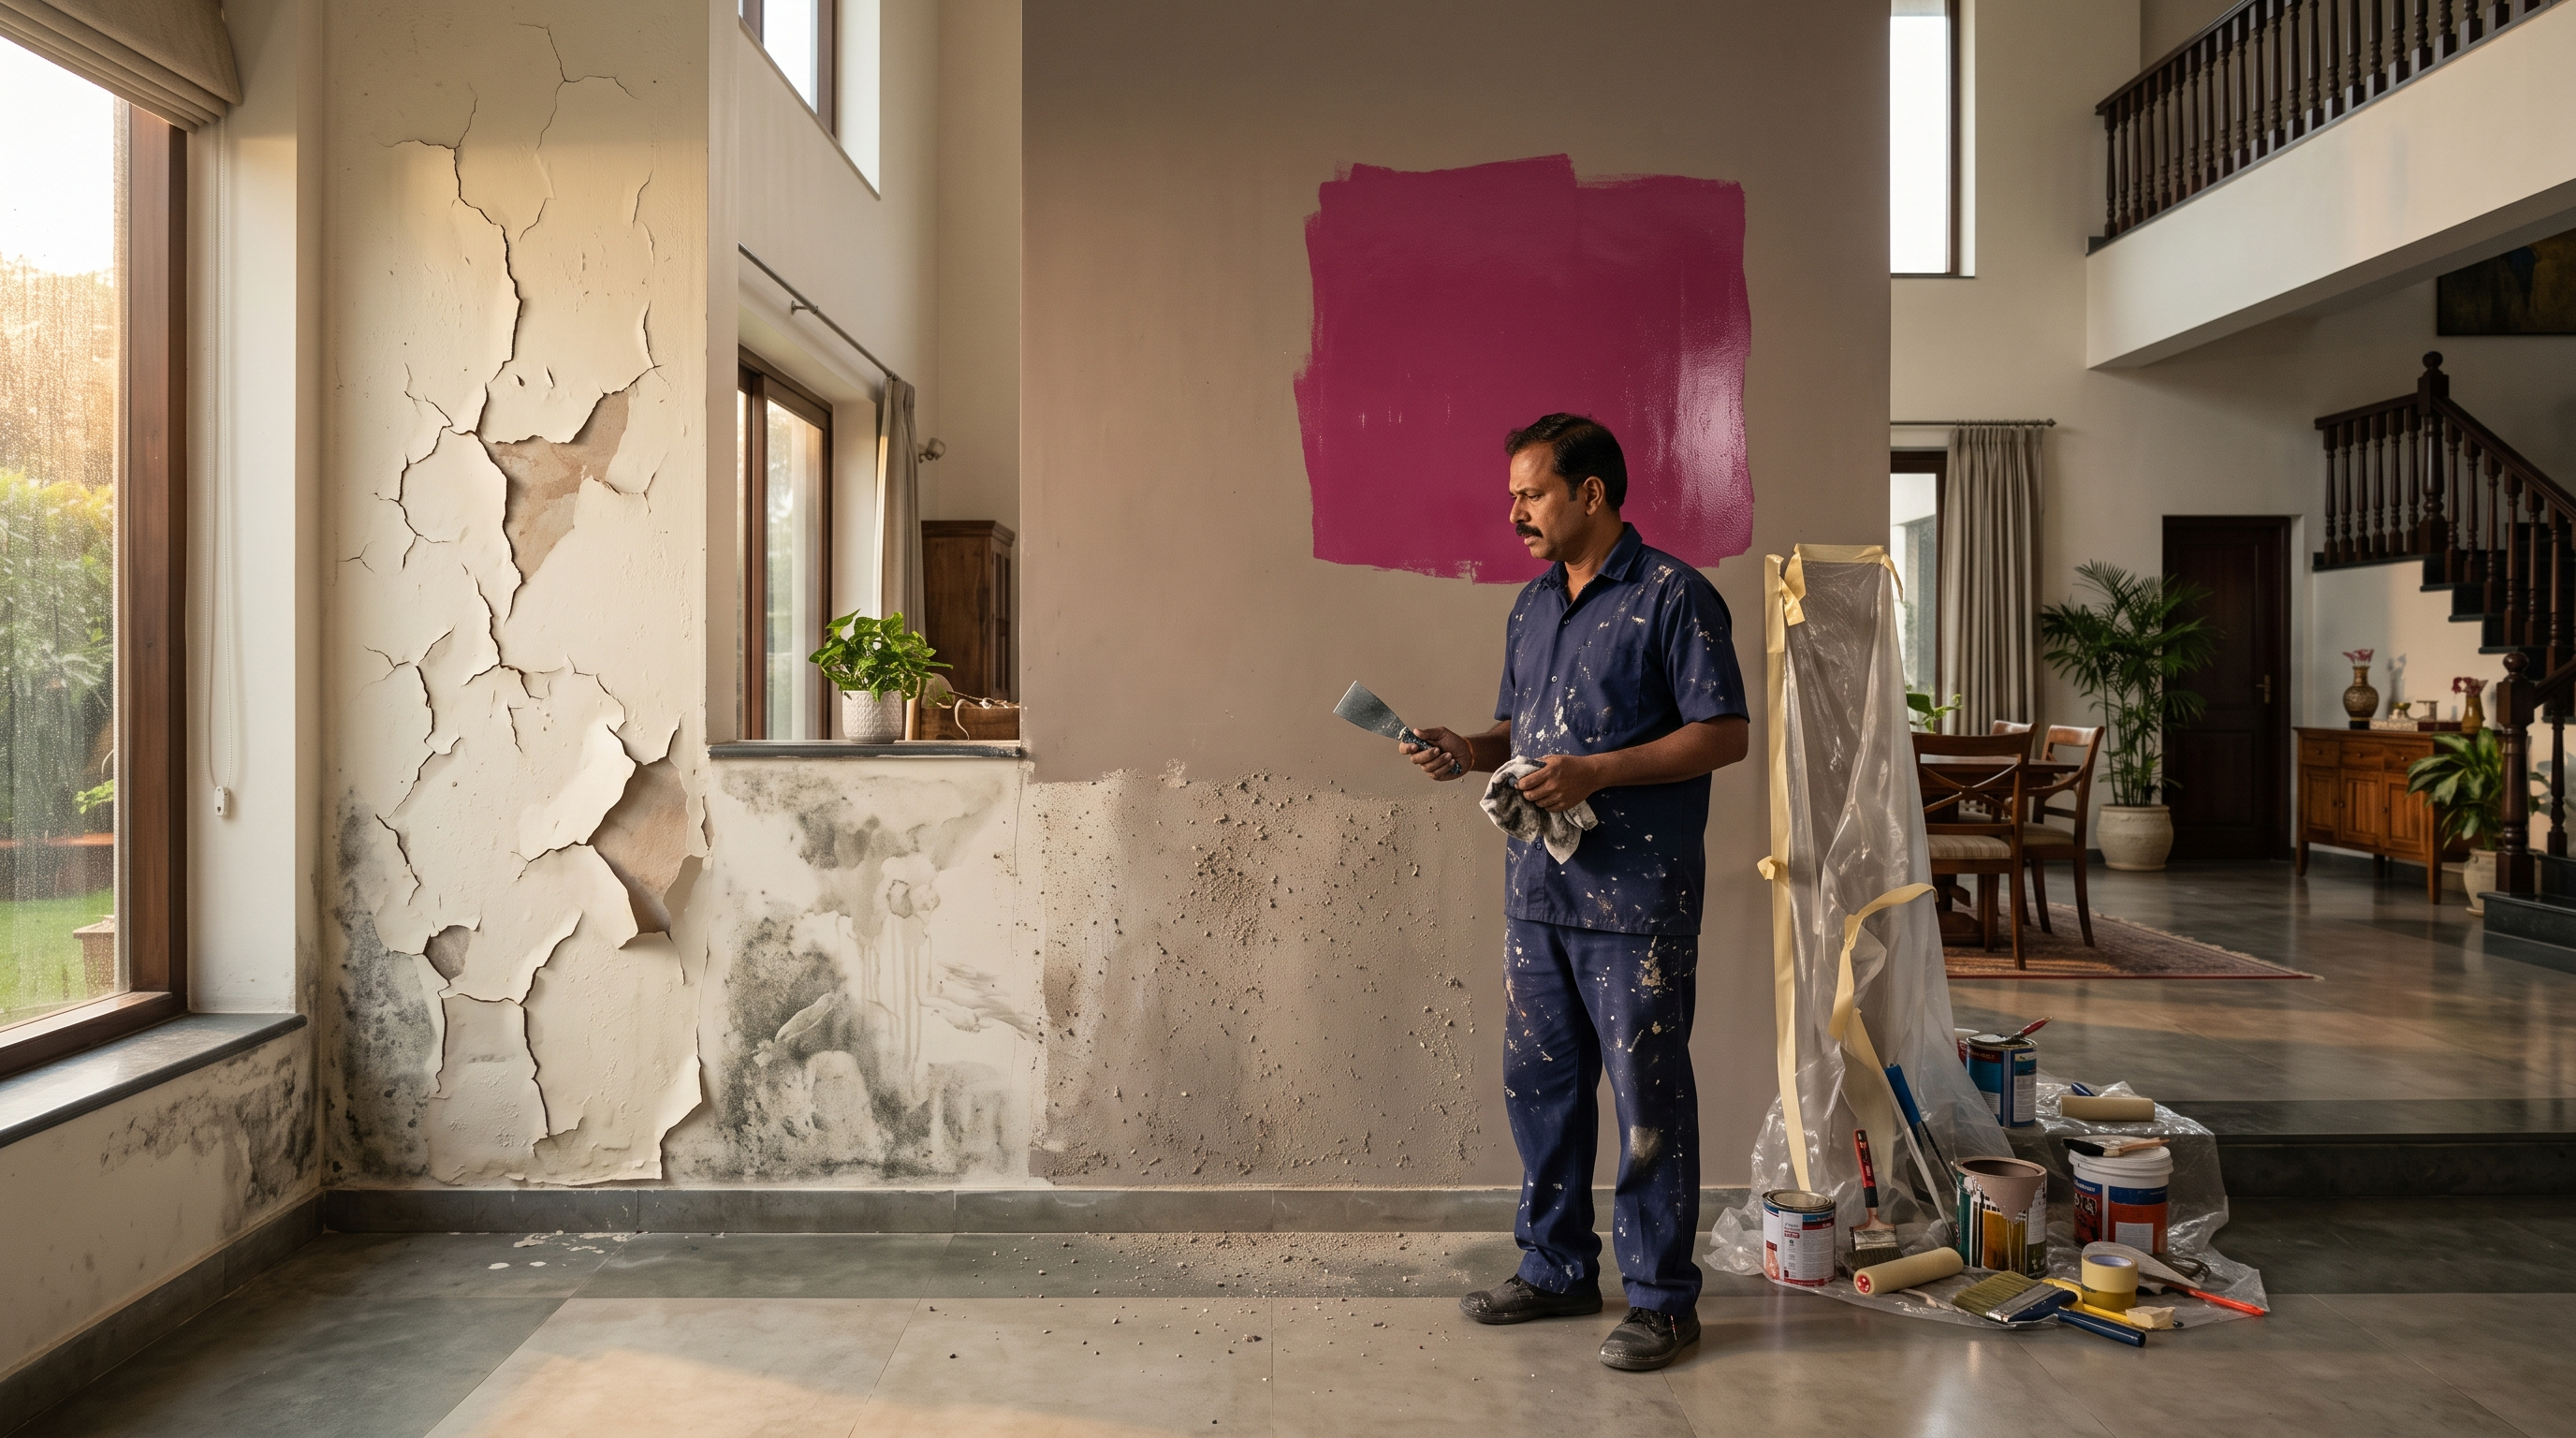
Instead of relying only on a small colour card or digital screen, consider testing a sample on the actual wall.
Observe it at different times of the day before making your final decision.
The simple rule
Choose paint for the surface and environment—not just for the colour and price.
Mistake 3: Ignoring Primer and Undercoat Requirements
Another common mistake people make before painting is assuming that primer is unnecessary in every situation.
Primer is not simply an extra layer added to increase the amount of work. Depending on the surface and paint system, it can play an important role in preparing the substrate for the finish coat.
A suitable primer can help create a more uniform surface and improve adhesion and overall coating performance.
Why is primer important?
Depending on the product and surface, primer can help with:
- Adhesion
- Surface uniformity
- Sealing porous surfaces
- Reducing uneven absorption
- Improving finish consistency
- Supporting the performance of the topcoat
Porous surfaces can absorb paint unevenly. When this happens, some areas may absorb more material while other areas absorb less, resulting in an inconsistent appearance.
A suitable primer or sealer can help create a more consistent base.
When might primer be particularly useful?
Primer or an appropriate preparatory coat can be especially important when:
- Painting a newly plastered surface
- Painting a highly porous surface
- Changing from a very dark colour to a much lighter colour
- Painting repaired areas
- Applying paint to certain difficult surfaces
- Repainting a surface with adhesion concerns
- Using a coating system that specifically recommends a primer
However, not every situation requires the same primer. The correct product depends on the substrate and the paint system.
Don’t assume one primer works everywhere
A common misconception is:
“Primer is primer. Any product will do.”
That is not always true.
Primers are designed for different purposes and substrates. The product recommendation should match the surface and the subsequent topcoat.
Before purchasing, check the manufacturer’s technical instructions and application recommendations.
Primer can also improve the final appearance
Imagine painting a wall where some areas are repaired and others are original. These areas may absorb the paint differently.
Without proper preparation, the finished wall can appear patchy even when the same colour has been used throughout.
A suitable preparation system can help create a more consistent foundation for the final colour.
The simple rule
Don’t automatically skip primer. Check the surface, coating system, and manufacturer’s recommendation before deciding.
Mistake 4: Painting Over Dampness, Moisture, Mold, or Structural Problems
This is one of the most serious mistakes people make before painting.
A wall may look unattractive because of stains, dark patches, peeling paint, or fungal growth. Many people think the easiest solution is simply to paint over the affected area.
But paint is not a substitute for solving the underlying moisture problem.
Why moisture is a major concern
Moisture can come from several sources, including:
- Plumbing leaks
- Roof leakage
- Rainwater penetration
- Poor drainage
- Condensation
- Rising damp
- Water seepage
- Cracks in exterior surfaces
If the underlying moisture source remains unresolved, painting over it may only provide a temporary cosmetic improvement.
Eventually, the new coating may show signs of failure.
These can include:
- Blistering
- Peeling
- Discolouration
- Staining
- Fungal growth
- Flaking
- Loss of adhesion
- Damp patches
What should you do before painting a damp wall?
First, identify and address the source of moisture.
For example, if a wall is affected by a plumbing leak, fixing the leak should come before repainting.
If rainwater is entering through an exterior crack, the relevant waterproofing or repair work should be considered.
After the underlying issue has been addressed, allow the surface to dry adequately before proceeding with the painting system.
What about fungal or algae growth?
Walls exposed to persistent moisture may develop fungal, algae, or similar biological growth.
Simply painting over growth is generally not a good preparation strategy.
The affected surface should be appropriately cleaned and treated according to the product manufacturer’s recommendations.
The cause of excess moisture should also be addressed wherever possible.
Exterior walls need special attention
Exterior surfaces are constantly exposed to changing weather conditions.
Before painting an exterior wall, inspect for:
- Cracks
- Water penetration
- Peeling coatings
- Biological growth
- Powdery/chalky surfaces
- Damaged plaster
- Poor drainage
- Areas exposed to excessive moisture
Taking care of these issues before painting can significantly improve the longevity of the coating.
The simple rule
Never use paint to hide a moisture problem. Solve the moisture problem first.
Mistake 5: Poor Planning and Not Preparing the Space
The fifth mistake is often overlooked because it does not directly involve the wall itself.
Many people start painting without properly planning the project.
This can lead to wasted paint, uneven results, unnecessary mess, delays, and frustration.
Common planning mistakes
People often forget to:
- Calculate the approximate paint requirement
- Gather all necessary tools
- Protect furniture and flooring
- Move fragile objects
- Cover electrical fixtures appropriately
- Plan the painting sequence
- Allow enough drying time
- Check weather conditions for exterior work
- Read product instructions
- Arrange adequate ventilation
- Keep enough time for surface preparation
Calculate the paint requirement
Buying too little paint can interrupt the project halfway through.
Buying far too much can lead to unnecessary expense and storage issues.
The actual coverage depends on factors such as:
- Surface condition
- Surface porosity
- Number of coats
- Paint type
- Application method
- Existing colour
- Texture
Always refer to the manufacturer’s stated coverage information and account for the actual condition of the surface.
Prepare your tools
Depending on the project, you may need:
- Paint rollers
- Brushes
- Paint trays
- Sandpaper
- Scrapers
- Putty or repair materials
- Primer
- Drop cloths
- Masking materials
- Ladders or suitable access equipment
- Cleaning supplies
Having everything ready before starting can make the project much more efficient.
Protect furniture and flooring
Paint splashes can quickly turn a simple painting project into a cleaning project.
Before painting:
- Move furniture away from the work area.
- Cover furniture that cannot be moved.
- Protect floors.
- Remove or protect decorative items.
- Protect areas that should not be painted.
- Keep the workspace organised.
Plan the sequence
A common approach is to work systematically rather than randomly.
Depending on the project, this may involve preparing all surfaces first, completing ceilings before walls, and painting trim or other details at the appropriate stage.
The exact sequence can vary depending on the room and coating system.
Don’t rush drying time
One of the biggest mistakes is trying to speed up the project by applying the next coat too soon.
Every coating has recommended drying and recoat times. These can vary depending on:
- Temperature
- Humidity
- Ventilation
- Surface condition
- Product formulation
- Coat thickness
Always follow the manufacturer’s instructions.
Exterior painting requires weather planning
If you’re painting outside, weather conditions matter.
Rain, excessive humidity, extreme heat, or strong wind can affect the application and drying of exterior coatings.
Check the product’s application guidelines and local weather conditions before starting.
The simple rule
A well-planned painting project is usually cleaner, faster, and more predictable than a rushed one.
Bonus: A Step-by-Step Checklist Before Painting
Now that we’ve covered the five major mistakes, here’s a simple process you can follow before starting your next painting project.
Step 1: Inspect the surface
Walk around the entire area and look carefully for:
- Cracks
- Holes
- Peeling paint
- Dampness
- Stains
- Fungal growth
- Loose plaster
- Dust
- Grease
- Uneven areas
Do not rely only on a quick visual inspection.
Step 2: Identify the surface type
Determine whether you are painting:
- Cement plaster
- Concrete
- Previously painted walls
- Wood
- Metal
- Drywall or another substrate
Different surfaces may require different preparation methods and coating systems.
Step 3: Clean the surface
Remove dust, dirt, cobwebs, grease, and other contaminants.
A clean surface provides a better foundation for subsequent preparation and coating.
Allow the surface to dry where necessary.
Step 4: Repair imperfections
Fill appropriate cracks, holes, and damaged areas using suitable repair materials.
After repairs, allow sufficient drying time and sand where required.
Step 5: Address moisture problems
If you find dampness or water seepage, identify the source before painting.
Don’t simply cover the problem with paint.
Step 6: Select the appropriate primer
Determine whether a primer, sealer, or other preparatory coat is recommended for the surface and coating system.
Follow the manufacturer’s instructions.
Step 7: Choose the right paint
Consider:
- Interior vs. exterior use
- Surface type
- Durability
- Finish
- Colour
- Cleaning requirements
- Environmental exposure
- Coverage
- Application method
Step 8: Test your colour
Apply a small sample when possible and observe it under different lighting conditions.
Step 9: Calculate your material requirements
Estimate the required quantity based on the manufacturer’s coverage information and the actual surface.
Include the expected number of coats.
Step 10: Prepare the workspace
Protect:
- Floors
- Furniture
- Doors
- Windows
- Fixtures
- Decorative items
Organise all tools before you start.
Step 11: Read the product instructions
Do not rely entirely on assumptions based on previous painting projects.
Product specifications and recommended application procedures can vary.
Step 12: Start painting only when the surface is ready
The wall should be appropriately prepared, clean, dry, and ready for the specified coating system.

How These Mistakes Affect Your Painting Budget
Many homeowners think preparation increases the cost of painting.
In reality, poor preparation can increase the total cost even more.
Suppose you paint a wall without fixing cracks or moisture problems. If the paint starts peeling within a short period, you may need to:
- Remove the damaged coating.
- Repair the surface again.
- Purchase additional materials.
- Pay for labour again.
- Spend additional time on repainting.
This means the original “shortcut” may ultimately cost more.
Good preparation is therefore not simply about achieving a better appearance. It can also be a way of protecting your investment.
DIY Painting vs. Professional Painting
Another important decision is whether to paint the property yourself or hire professionals.
DIY painting can be suitable for smaller projects when you have the necessary skills, tools, time, and confidence.
However, larger projects may involve more complicated preparation.
Professional painters can help with tasks such as:
- Surface inspection
- Crack repair
- Sanding
- Priming
- Paint selection
- Application
- Finishing
- Large-area preparation
If the property has significant cracks, dampness, extensive peeling, or other substrate problems, it may be worth getting professional advice before beginning.
How to Get a Long-Lasting Paint Finish
Avoiding the five mistakes is a great starting point, but long-term performance also depends on using a complete and compatible coating system.
A good painting project generally involves more than just a topcoat.
The overall process may include:
Surface inspection → Cleaning → Repairs → Sanding → Primer/Sealer → Intermediate preparation where required → Topcoat
The exact system depends on the substrate, location, product, and manufacturer’s recommendations.
Don’t mix incompatible products
Using products from different systems without checking compatibility can create performance problems.
Whenever possible, follow a compatible system recommended by the manufacturer.
Follow recommended application conditions
Pay attention to:
- Temperature
- Humidity
- Surface dryness
- Recoat interval
- Recommended dilution
- Application tools
- Number of coats
These details can make a significant difference to the final result.
Common Questions About Painting Preparation
1. Can I paint directly over old paint?
Sometimes, yes—but only if the existing coating is stable, properly prepared, and compatible with the new system.
If the old paint is peeling, loose, chalky, cracked, or otherwise damaged, it should be addressed before applying new paint.
2. Is primer always necessary before painting?
Not necessarily. The need for primer depends on the surface, existing coating, paint system, and manufacturer’s recommendations.
However, skipping primer when it is recommended can negatively affect the final result.
3. Should I paint over cracks?
Small cracks should generally be properly assessed and repaired before painting.
Painting over a crack does not necessarily solve the underlying problem.
If cracks are large, recurring, or appear structurally significant, professional assessment may be appropriate.
4. Can I paint a damp wall?
Painting should not be used as a solution for an unresolved moisture problem.
Identify and address the moisture source, and allow the surface to become suitably dry before applying the coating system according to product instructions.
5. How many coats of paint should I apply?
The required number of coats depends on the product, colour, surface condition, existing colour, application method, and desired finish.
Follow the manufacturer’s recommendations rather than assuming that every wall requires the same number of coats.
6. Why does my freshly painted wall look patchy?
Patchiness can be caused by several factors, including:
- Uneven surface absorption
- Poor preparation
- Insufficient coats
- Uneven application
- Inadequate priming
- Incorrect dilution
- Different substrate conditions
Proper preparation and following the coating manufacturer’s instructions can help reduce these issues.
7. Why does new paint peel after painting?
Peeling can result from problems such as:
- Poor surface preparation
- Dust or grease contamination
- Moisture
- Weak existing coating
- Poor adhesion
- Incompatible coating systems
- Incorrect application conditions
The underlying cause should be identified instead of simply repainting the affected area.
Final Thoughts: Don’t Let Small Mistakes Ruin Your Paint Job
Painting your home is more than picking a colour and putting paint on the wall.
The quality of the final result depends heavily on what happens before the first coat is applied.
The five major mistakes to avoid are:
- Skipping proper surface preparation
- Choosing paint only based on colour or price
- Ignoring primer or undercoat requirements
- Painting over dampness, moisture, mold, or underlying problems
- Poor planning and inadequate workspace preparation
Avoiding these mistakes can help you achieve a smoother, more attractive, and more durable finish.
Remember that preparation may take extra time, but it can save you from costly repairs and repainting later.
The best painting projects begin long before the roller touches the wall.
Inspect carefully. Prepare properly. Choose the right coating. Follow the recommended application process. And never use paint to hide a problem that needs to be fixed first.
Whether you’re refreshing a bedroom, renovating your living room, repainting your office, or giving your home’s exterior a completely new look, a little preparation can make a big difference.
After all, a beautiful paint finish doesn’t begin with the paint—it begins with the surface underneath it.